
Apparel / adaptive clothing / technical outerwear
Magnetic closures for apparel. Start with the garment.
Give your sample room a closure brief it can use. Match the opening task, fabric construction and sewing sequence before choosing the magnetic component.
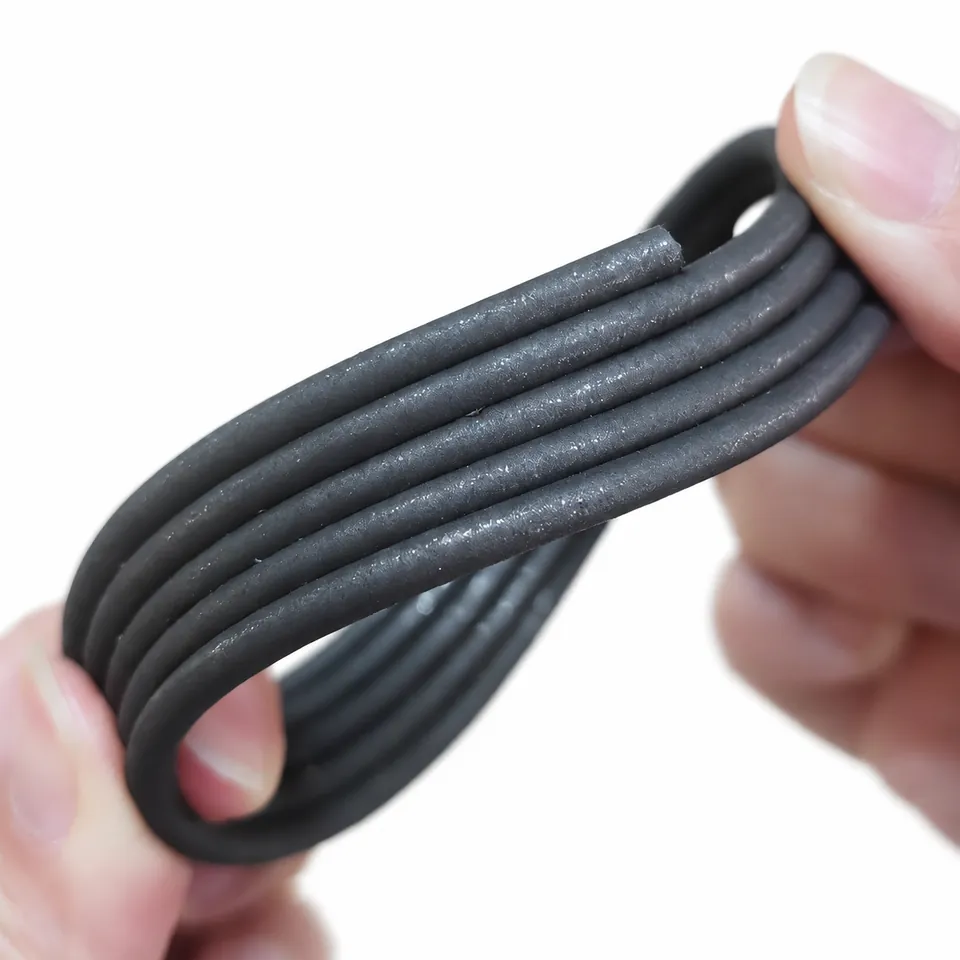
Flexible cord handling for textile integration. Match the cord and fabric tunnel on your sample.
The engineering decision
A front placket, a cuff and a pocket each open differently. Define the wearer’s movement and the finished fabric stack first; evaluate the closure as part of that assembly.
Magnetic cord formats
Start with the cord construction.
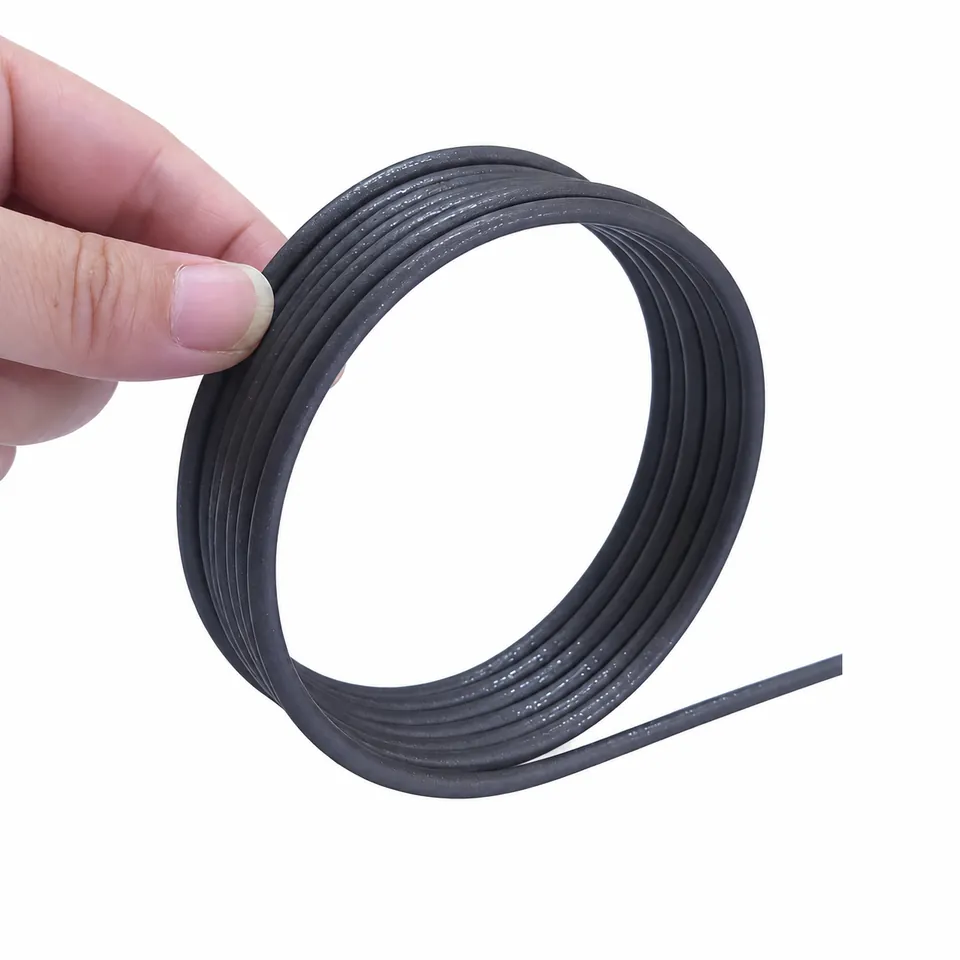
Coiled flexible cord. Define opening length, matching orientation and end retention before sampling.
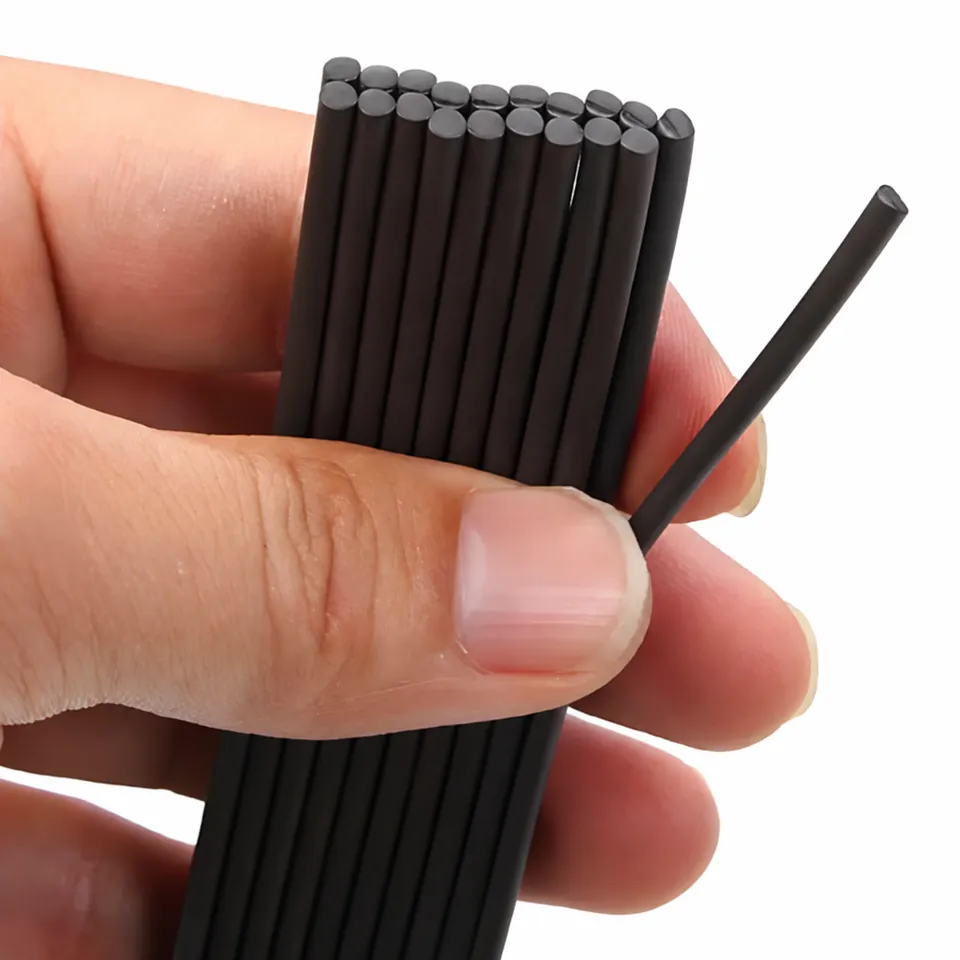
Round cord ends in close-up. Confirm the cross-section and tunnel clearance on the selected part.
Construction options
Three ways into the sewing room.
Cord inside a fabric tunnel
A continuous flexible construction follows a prepared channel. Review the channel clearance, paired orientation, cut length and positive end retention.
Encapsulated inserts or tape
Individual sewing flanges and spaced inserts in a carrier offer different layout control. Keep the needle path outside the magnetic enclosure and define the cut zones.
Sew-on housings
Attachment holes provide a visible stitch location. Compare the local stiffness, skin-side feel and attachment strength with the fabric and intended opening task.
Prepare the sample brief
Turn the tech pack into a closure brief.
| Define | Project input | For the sample review |
|---|---|---|
| Opening | Front placket, cuff, pocket or other location | Sketch opening direction, overlap and usable closure length. |
| Fabric stack | All face fabrics, linings and reinforcements | Supply a sewn swatch; include both sides of the closure. |
| Handling | Wearer task and opening-force target | Describe grip, hand motion, gloves and any accessibility constraint. |
| Integration | Tunnel, sew-in flange or attachment holes | Mark seam allowance, needle clearance and end retention. |
| Care | Actual wash and drying conditions | Provide temperature, programme, detergent and expected cycles. |
| Inspection | Factory detector and brand requirements | Request a complete-assembly qualification plan. |
Integration sequence
From pattern to an evaluated garment sample.
Map the movement
Observe how the opening is reached and released. Set the target task before deciding the number or length of magnetic elements.
Build the closure zone
Define the overlap, stabiliser and seam path on the actual pattern. Preserve access for replacement or assembly inspection where needed.
Control the assembly
Identify mating parts, orient them consistently and secure the ends. Check that the opening remains aligned when the garment bends.
Validate the complete sample
Record handling, retention and care results before and after conditioning. Use the same garment construction for approval and production reference.
Your next construction
Bring your brief into the sample room.
Share your material stack, installation route and evaluation needs. Sample selection, availability and supply terms are confirmed after review.
Define the evidence
What the sample needs to demonstrate.
Care and appearance
Agree the wash/dry procedure and cycle count. Review enclosure integrity, migration, staining and changes in opening behaviour.
Adaptive handling
Evaluate the intended task with representative users and clothing layers. Magnetic alignment alone does not establish accessible operation.
Wearer information
Consider magnetic interference, component retention and the intended age group. Final labelling belongs with the finished-product assessment.
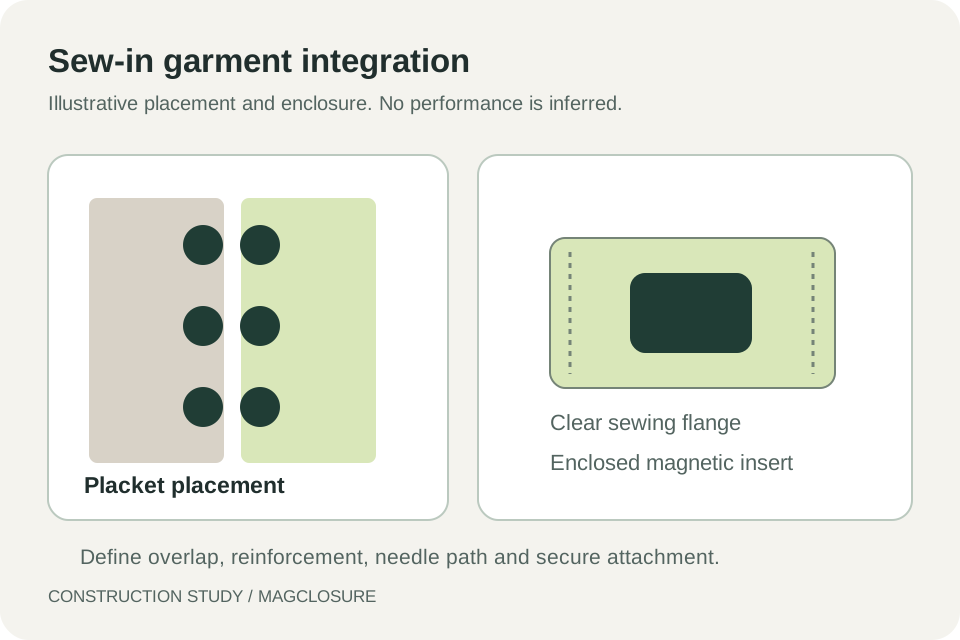
Illustrative placket placement and enclosure. Confirm the needle path on the actual sample.
View construction diagram ↗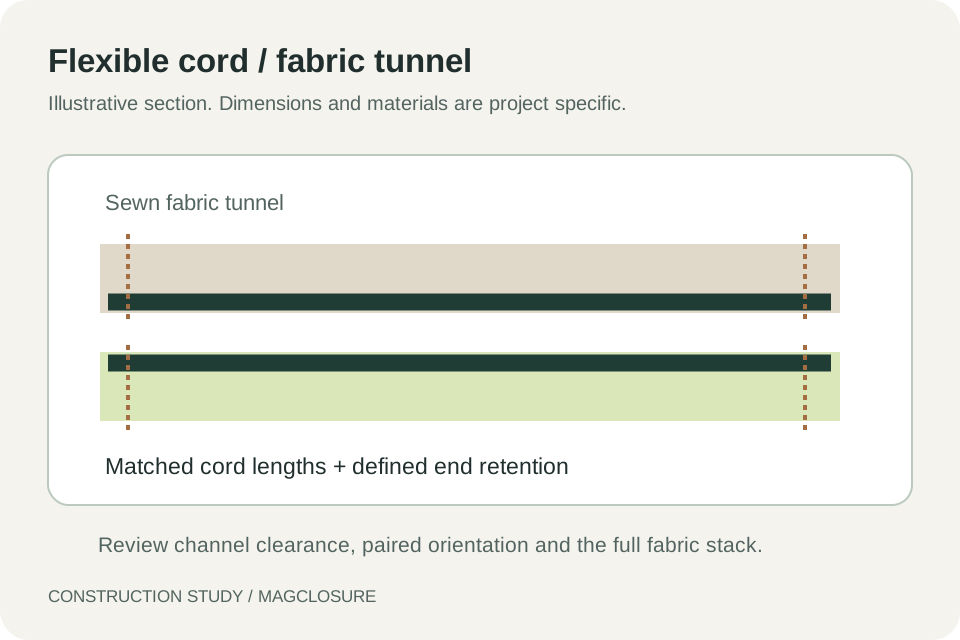
Fabric tunnel concept: define clearance, matching orientation and secure ends.
View construction diagram ↗Before you enquire
Questions worth resolving early.
Which magnets work for clothing closures?
Start with the installation route: flexible cord, encapsulated sew-in pieces or a sew-on housing. Specify the finished fabric stack, handling task and care requirements before selecting a material and magnetic configuration.
Can I use sew-in magnetic snaps for adaptive clothing?
They are one construction route to evaluate. Compare reach, grip, local stiffness, force and secure attachment on the complete garment. An adaptive application does not automatically establish medical-device or wearer compatibility.
Are these closures washable?
A wash claim needs evidence for the selected enclosure and sewn assembly. Define the wash and drying procedures and obtain the relevant test result; a bare-magnet material description is insufficient.
Can I replace a button pattern without changing the garment?
The overlap, reinforcement, magnetic spacing and opening direction may require pattern changes. Share the existing tech pack and a swatch for an integration review.
What should I send for a first sample enquiry?
Send the opening location, fabric stack, desired installation route, care conditions and prototype quantity. Include detector requirements if your factory uses a controlled inspection process.
Technical references
Read the source in context.
A reference for defining a care procedure, not a MagClosure test certificate.
Take the brief with you
Working documents for the project.
Use these blank worksheets to keep construction inputs and actual observations in one project record.
Engineering project brief
Application, sample track, delivery scope and construction requirements.
Download PDF ↧Sample evaluation record
Part revision, method, conditioning and blank observation fields.
Download PDF ↧Keep developing the brief
Connected engineering questions.
Your next construction
Bring your brief into the sample room.
Share your material stack, installation route and evaluation needs. Sample selection, availability and supply terms are confirmed after review.