
Closure systems / outdoor pocket development
Sealed magnetic pockets. Develop the whole boundary.
Magnetic alignment is one part of a pocket design. Bring the opening profile, perimeter seams and joining process into the same development brief.
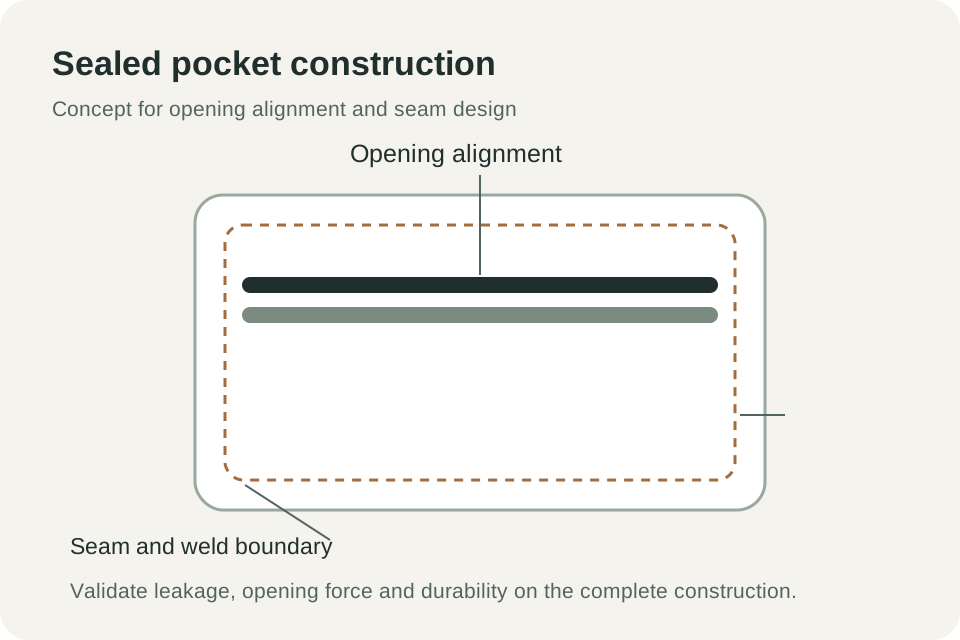
Pocket construction concept. Waterproof performance requires complete-assembly testing.
View construction diagram ↗The engineering decision
A pocket’s water resistance depends on the complete construction, including corners, seams, closures and attachment. A magnetic component alone does not establish a waterproof rating.
Magnetic cord formats
Start with the cord construction.
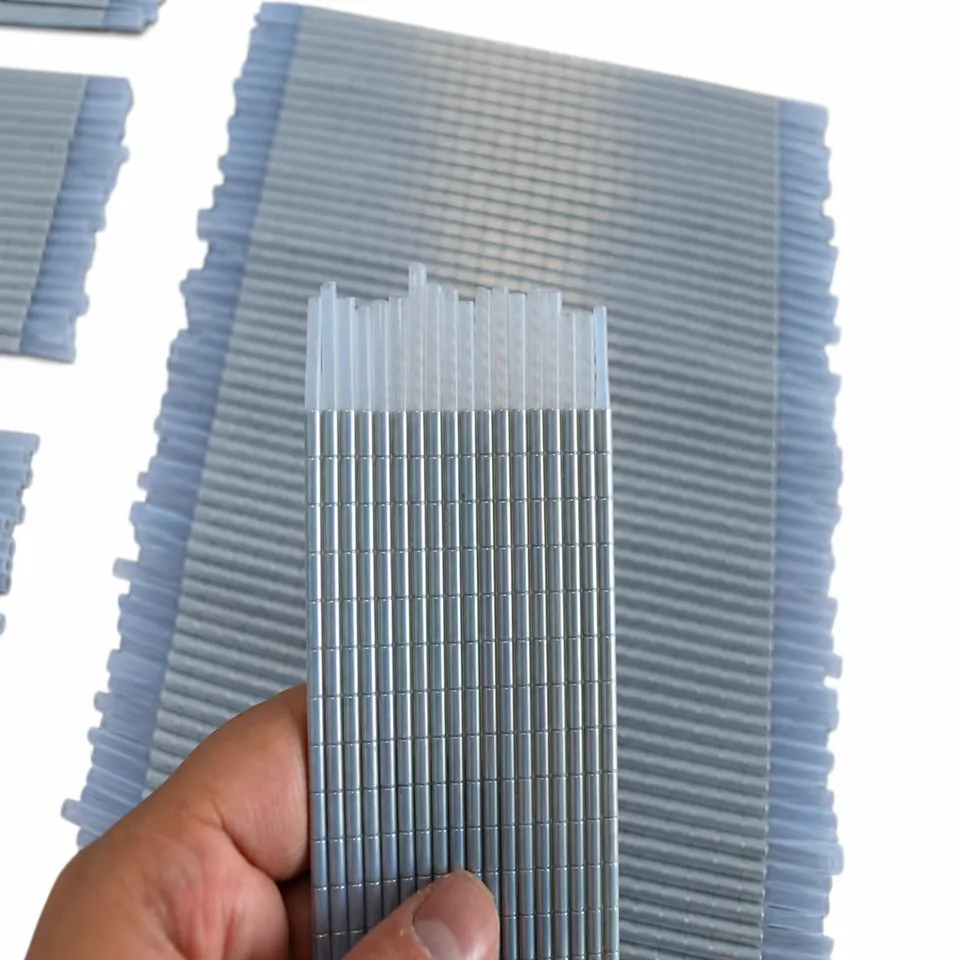
Segmented cord with clear sleeve tips. Define the pocket enclosure, joining process and end retention.
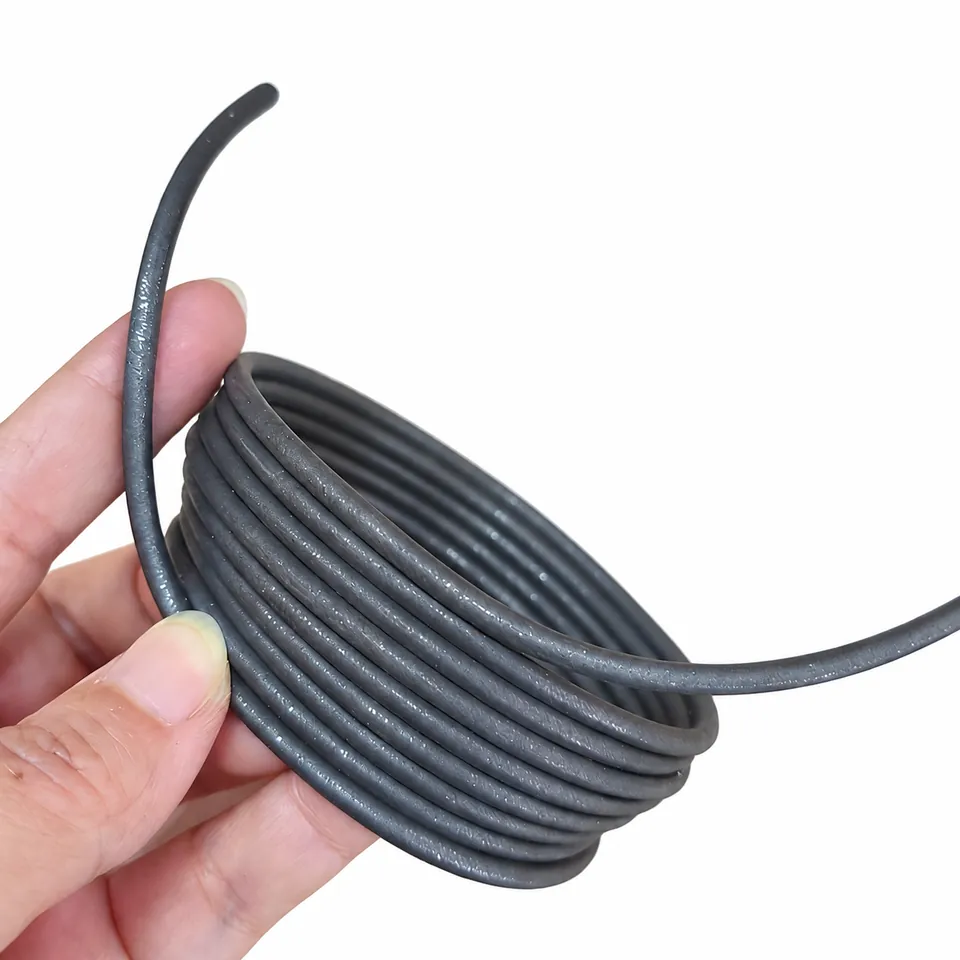
Flexible cord format. Evaluate the complete opening, perimeter seams and material stack together.
Construction options
Define the module boundary.
Opening profile enquiry
Specify mating geometry, opening width, edge transitions and the surrounding fabric or film.
Prepared pocket enquiry
Include usable internal dimensions, corners, perimeter seams and the finished opening in a single drawing.
Garment or bag integration
Identify the attachment flange and keep the proposed outer joining operation distinct from the water-containing seam.
Prepare the sample brief
A pocket brief that can be evaluated.
| Define | Project input | For the sample review |
|---|---|---|
| Geometry | Usable width, depth and opening | Include corner shapes and attachment allowances. |
| Materials | Film or coated textile and thickness | Identify every layer and coating involved in joining. |
| Joining | Proposed thermal, RF or other process | Qualify parameters for the actual materials and equipment. |
| Exposure | Water conditions, pressure/depth and duration | Agree a test procedure and pass/fail criteria for the complete pocket. |
| Handling | Contents and repeated opening | Assess whether filling, bending or contamination affects closure. |
| Integration | Garment seam and mounting location | Review the attachment without compromising the proposed seal. |
Integration sequence
Develop, assemble and test the whole boundary.
Describe the exposure
Distinguish incidental splashes, immersion and other use conditions. Set a specific finished-pocket requirement.
Select the material system
Review film, coating, closure profile and intended joining route together.
Build the complete pocket
Include corners, opening and all perimeter seams. Evaluate the final attachment operation as part of the development.
Record complete-assembly results
Test against agreed conditions before and after the handling and conditioning sequence. Retain the construction revision.
Your next construction
Bring your brief into the sample room.
Share your material stack, installation route and evaluation needs. Sample selection, availability and supply terms are confirmed after review.
Define the evidence
What the sample needs to demonstrate.
Rating and conditions
A waterproof claim needs a report for the actual finished configuration and stated test conditions. No IP rating is inferred from this construction illustration.
Use and contents
Evaluate the intended contents and environment. Device, payment-card and implanted-device compatibility require their own consideration.
Service conditions
Consider dirt, folds, seam strain and repeated opening as part of qualification, not only an initial immersion.
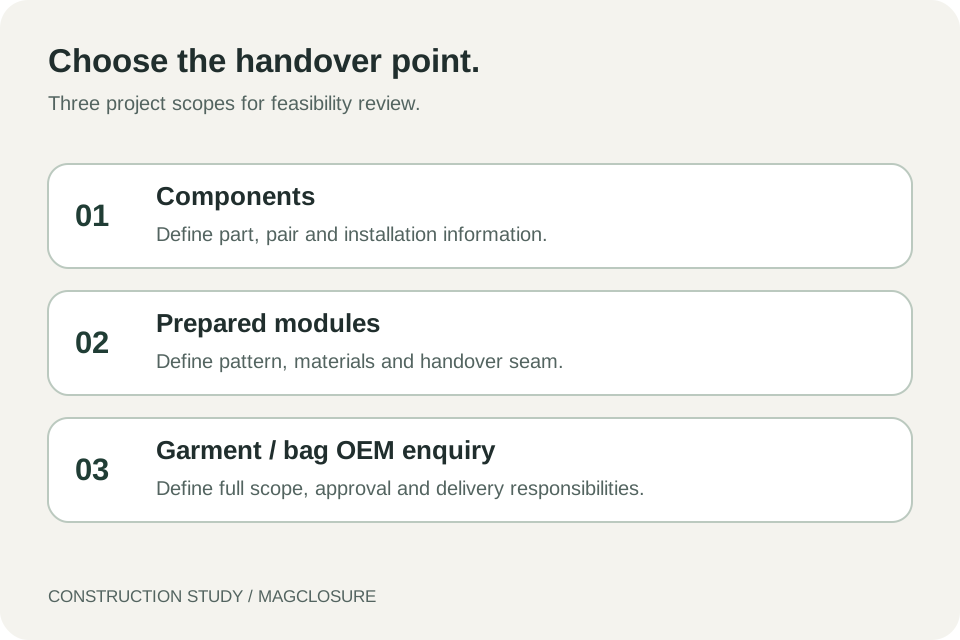
Define the handover point and approval responsibilities before quotation.
View construction diagram ↗Before you enquire
Questions worth resolving early.
Is the component automatically IPX8 waterproof?
No rating is claimed for an untested assembly. Define the final pocket and obtain the applicable complete-product test evidence.
Can the pocket be sewn directly into a garment?
Review the attachment flange and seam layout. A needle path through a water-containing boundary must be addressed in the construction and qualification plan.
Can I request a ready-made waterproof sample?
Send the dimensions, materials, use conditions and joining requirements. Feasibility and any sample offer are confirmed after the project review.
Take the brief with you
Working documents for the project.
Use these blank worksheets to keep construction inputs and actual observations in one project record.
Engineering project brief
Application, sample track, delivery scope and construction requirements.
Download PDF ↧Sample evaluation record
Part revision, method, conditioning and blank observation fields.
Download PDF ↧Keep developing the brief
Connected engineering questions.
Your next construction
Bring your brief into the sample room.
Share your material stack, installation route and evaluation needs. Sample selection, availability and supply terms are confirmed after review.